-
 Russian NovelRussian Films On The Russian Channel
 -
 Books To ReadBooks Of Love Worth Reading
 -
 Best Books Of PeaceBest English Books
 -
 Best NovelsBest Novels Ever
 -
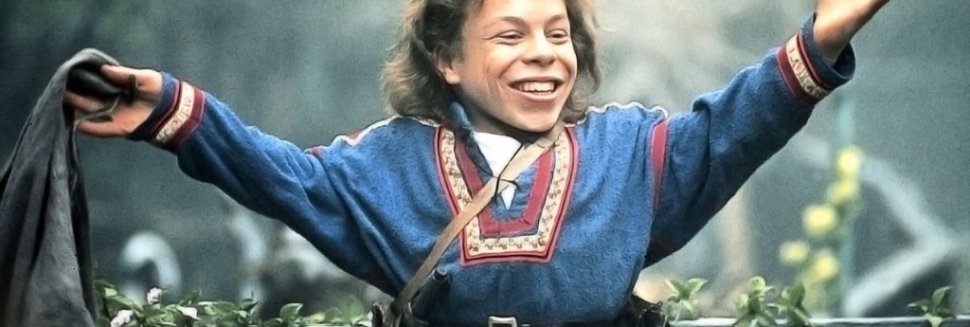
 Adolescent Books10 Best Books For Adolescents
 -
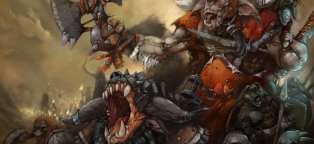
 Science FictionScience Fantastic Reading
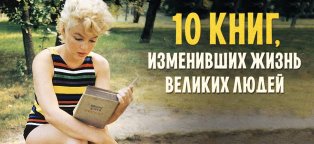
Top 100 Classic Books
Set up a list of 100 books for young people, we started with readers, after Prime Minister Vladimir Putin proposed to create a book top-100 for readers of the age in which tastes, character, perceptions of life, peace. It s not the fact that the Prime Minister has proposed this (and the presidential…
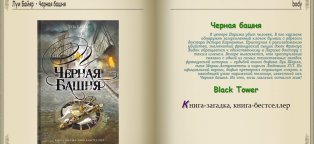
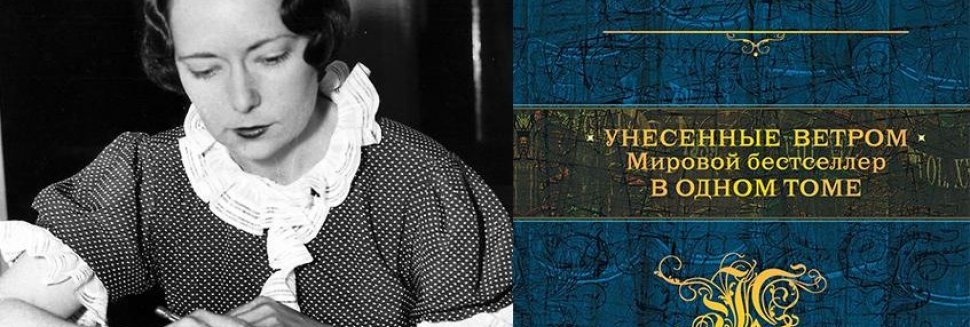
The Book Of Mystery Is Noseller's Book
Comparing Ivana Silach with the Chechen Man s fate, perhaps too brave. Although the comparison is requested by itself. The fact that a foreigner wrote the story is very well felt: it was a completely Hollywood story. At the beginning of the ancestral hero, a Russian sailor and an Indian from the Navajo…

Russian Novel Telecanal Schedule
On the Roska novel Channel for a year round, the hottest feelings, the madness of lovers and the most desperate things to do for beautiful and loved women. The telecanal is based on a gold collection of domestic films, a format of 2-4 series films. Over the past year, the television channel has shown…
Classic Book Fantasy
I m a big fantasy fantasy guy, including scientific. I ve read a lot in my time, now much less of it for invention of the Internet and lack of time. I got this rating when I was preparing another post. I think I m gonna run right now, I guess I know everything. Yeah! Whatever. I haven t read half the…
Philosopher's Books That Should Read
Photo Beth Jusino, flickr.com might wonder why it s those books, not some other ones? In our view, it is this list that shapes the qualities that create the most inexorable cocktail of courage. If you try to put it on the ingredients, it s a mind, a logic, philosophical notes, a critical mind, an infinite…
100 Best Books Of All Time
A list of 100 books drawn up in 2002 by the Norwegian Book Club together with the Nobel Institute of Norway. The list was drawn up by 100 writers from the fifty-four countries of the world. The purpose of the list was to select the most important works of world literature from different countries, cultures…

Audio Booking
The German Internet magazine of childrens products . presents: the most popular audio books for children. Together with the kids, you re going to rest, and the question is, what do you want to do with the kids? Admit it, just to look at the nature of the car window or the train, the kids are bored, torment…

List Of The World ' S Most Readable Books
The culture of the past half century has written hundreds of thousands of books, but only some have become the most popular in the world. Here s a list of the top 10 books in the world over the past 50 years. Figures show the number of books printed and sold, but do not take into account the many redrafts…
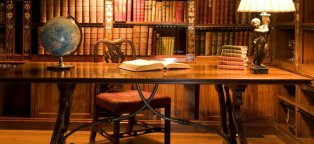
Classic Books To Read
M.Y. _ A. GRIBUDOV: - George to the Brain And. TURGENEVE: - The Fathers and Children - Rudin ; - Asia ; - Dvorian nest. - Friends and children ; M.E. SALTZOV-SHORNE: Gholovla ; A.P. CHOV: My life ;
100 Top 20Th Century Novels
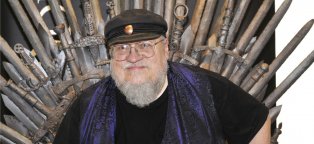
Stephen King s universe from Bakhman to Dark Tower At the request of Afish, Anton Valley studied the books of the author of the 11/22/63 novel, the king of horrors, the most important Belletrist and the most screened modern writer in the world. The river writers in the modern world know the face, but…
Best Books
Swan and other fairy tales Michael Canningham, Corpus, translation from the English Dmitry of the Karelski Witness, following the novel of the Snow Queen, which appeared three years ago, American Michael Canningham released a collection of a little over-cooked classic fairy tales. Most of them, of course…
Interesting Book Read
Psychologists are very interesting people, and their work is interesting. Most recently, they gave a new definition of male type. Meet Carlson! Remember the Multhylm-- I m leaving but I promise to come back. That s what a man said in the blossom of strength! Let s figure out what A unique iPhone application…

Interesting Reading
? Most people, I bet you don t ask that question at all. But since you re still on the literary portal, we ll think that s a lot. There s a lot of books, but how do you find one, the one that s in the mood right now? The answer to this question will try to give you a book catalogue of our portal, where…
Reading Fantastic
No, baby, this is fantastic. Choose action for the book a little novel with the elements of the city fantasy. Be careful what you want, they have the properties to come true. That s how you get to meet the perfect man in every relationship, and he s turning your life around your head. Lisa always wanted…
Fantastic Books Are The Best
Computer games, cinematography, visual art, books are fantastic everywhere. She can t hide, she s surrounded us. Fantastic is not just a genre, it s an artistic method. Its main element is the breach of the real estate, i.e. the inclusion of something unusual. Just something that can t come out in our…
Read More
- Africa is home to more than 2,000 distinct languages, with some estimates suggesting the number is closer to 3,000.
- The first known artwork is believed to be a 40,000-year-old carved stone figurine discovered in Austria in 2008.
- Finland has a highly decentralized education system, with national, regional, and local authorities all playing a part in the organization and delivery of education services. In 2019, Finland was ranked as the most educated country in the world according to the OECD's Education at a Glance Report.